> ## Documentation Index
> Fetch the complete documentation index at: https://perplexity-cf-proxied-beta.mintlify.site/llms.txt
> Use this file to discover all available pages before exploring further.
# API Groups & Billing
> Learn how to use the Perplexity API Portal to manage access, usage, billing, and team collaboration.
## What is an API Group?
An **API Group** is your organization's workspace in the Perplexity API Portal. It allows you to:
* **Manage billing** and payment methods for API usage
* **Create and control API keys** for accessing the Perplexity API
* **Invite team members** and control their permissions (optional)
* **Monitor usage and costs** across all your API keys
## Prerequisites
Before getting started, make sure you have:
* A Perplexity account (sign up at [perplexity.ai](https://perplexity.ai))
* **Admin permissions** for billing and API key management
* A **credit card** ready for payment setup (you won't be charged initially)
If you're joining an existing team, you'll need an invitation from an Admin. Contact your team lead to get access.
## Accessing the API Portal
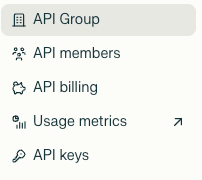
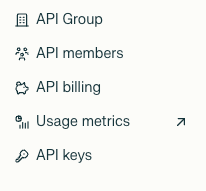
Once signed in, navigate to the left-hand sidebar and expand the **API** section to access your API group and related settings.
 ***
## Creating and Managing an API Group
To set up your organization:
Click **API Group** in the left sidebar.
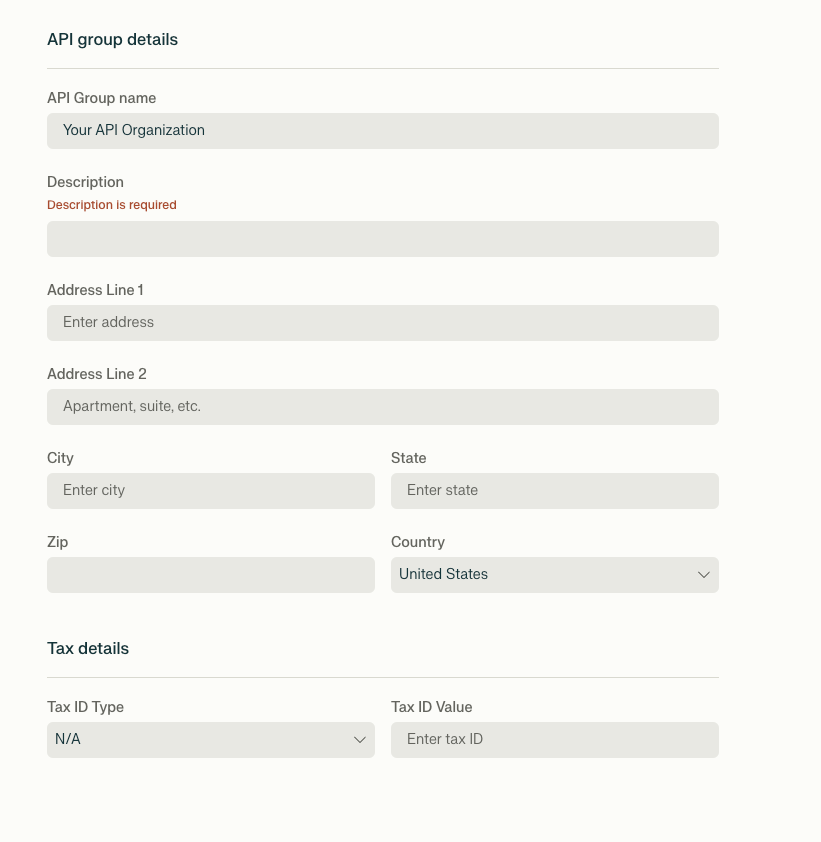
Fill out your organization's name, address, and tax details.
Your organization name and address will appear on invoices and help us support you better.
**Fields include:**
* Organization name and description
* Address (Line 1, Line 2, City, State, Zip, Country)
* Tax ID
***
## Creating and Managing an API Group
To set up your organization:
Click **API Group** in the left sidebar.
Fill out your organization's name, address, and tax details.
Your organization name and address will appear on invoices and help us support you better.
**Fields include:**
* Organization name and description
* Address (Line 1, Line 2, City, State, Zip, Country)
* Tax ID
 ***
## Billing and Payment Methods
### How Billing Works
The Perplexity API uses a **credit-based billing system**:
* **Credits** are purchased in advance and used for API calls
* **Different models** consume different amounts of credits per request
* **Usage is charged** based on tokens processed and search queries made
* **Automatic top-up** can be enabled to avoid service interruptions
See our [Pricing page](./pricing) for detailed cost information per model and usage type.
### Setting Up Payment
Navigate directly to your API billing dashboard to manage payment methods, view usage, and configure billing settings.
Go to the **API Billing** tab in your API Portal.
***
## Billing and Payment Methods
### How Billing Works
The Perplexity API uses a **credit-based billing system**:
* **Credits** are purchased in advance and used for API calls
* **Different models** consume different amounts of credits per request
* **Usage is charged** based on tokens processed and search queries made
* **Automatic top-up** can be enabled to avoid service interruptions
See our [Pricing page](./pricing) for detailed cost information per model and usage type.
### Setting Up Payment
Navigate directly to your API billing dashboard to manage payment methods, view usage, and configure billing settings.
Go to the **API Billing** tab in your API Portal.
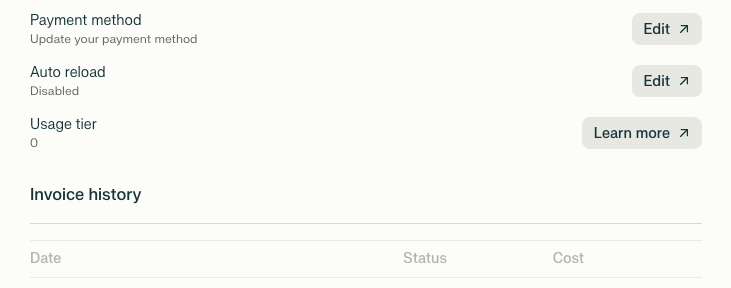 Click **Add Payment Method** and enter your credit card information.
This step will not charge your credit card. It just stores payment information for future API usage.
Enable automatic credit top-up to avoid service interruptions.
Click **Add Payment Method** and enter your credit card information.
This step will not charge your credit card. It just stores payment information for future API usage.
Enable automatic credit top-up to avoid service interruptions.
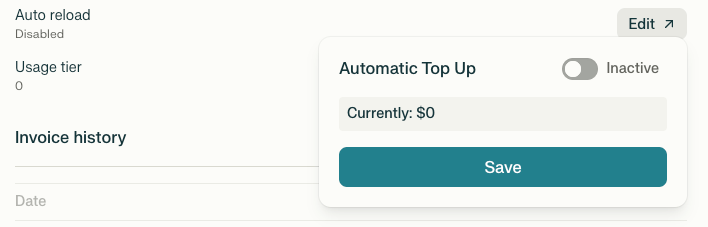 If you run out of credits, your API keys will be blocked until you add to your credit balance. Auto top-up prevents this by automatically adding credits when your balance drops below a threshold.
***
## Managing API Keys
### What are API Keys?
API keys are your credentials for accessing the Perplexity API. Each key:
* **Authenticates your requests** to the Perplexity API
* **Tracks usage and billing** for cost attribution
* **Can be revoked or regenerated** for security purposes
* **Should be kept secure** and never shared publicly
You'll need to include your API key in the Authorization header of every API request: `Authorization: Bearer YOUR_API_KEY`
### Creating an API Key
Go to the **API Keys** tab in your API Portal.
Click **+ Create Key** to generate a new API key.
If you run out of credits, your API keys will be blocked until you add to your credit balance. Auto top-up prevents this by automatically adding credits when your balance drops below a threshold.
***
## Managing API Keys
### What are API Keys?
API keys are your credentials for accessing the Perplexity API. Each key:
* **Authenticates your requests** to the Perplexity API
* **Tracks usage and billing** for cost attribution
* **Can be revoked or regenerated** for security purposes
* **Should be kept secure** and never shared publicly
You'll need to include your API key in the Authorization header of every API request: `Authorization: Bearer YOUR_API_KEY`
### Creating an API Key
Go to the **API Keys** tab in your API Portal.
Click **+ Create Key** to generate a new API key.
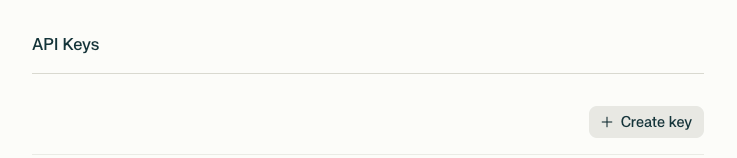 Copy and securely store your API key immediately.
API keys are sensitive credentials. Never expose them in client-side code or share them in public repositories.
***
## Adding and Managing Members
Admins can invite team members to the organization with specific roles: **Admin** or **Member**.
### Adding a Member
Click **+ Add Member**.
Copy and securely store your API key immediately.
API keys are sensitive credentials. Never expose them in client-side code or share them in public repositories.
***
## Adding and Managing Members
Admins can invite team members to the organization with specific roles: **Admin** or **Member**.
### Adding a Member
Click **+ Add Member**.
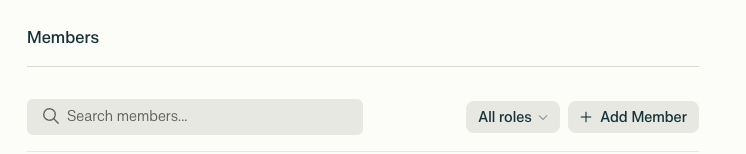 Enter the user's email address and click **Invite**.
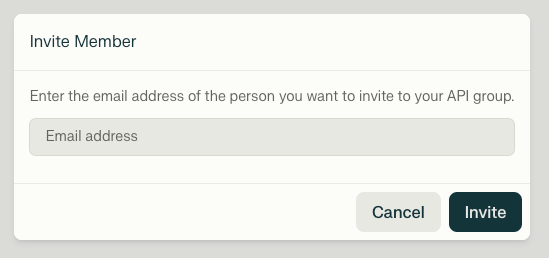 The invited user will receive an email with a link to join your group.
Once they accept, they'll appear in your member list with their assigned role.
### Filtering Members by Role
Use the dropdown to filter your list of team members by role.
The invited user will receive an email with a link to join your group.
Once they accept, they'll appear in your member list with their assigned role.
### Filtering Members by Role
Use the dropdown to filter your list of team members by role.
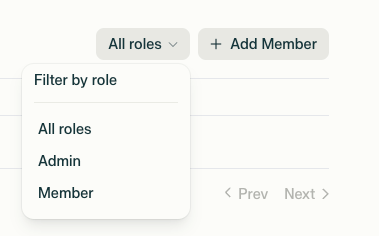 ### Roles
* **Admin**: Full access to invite/remove members, manage billing, and view usage data.
* **Member**: Can view usage and account limits but cannot modify settings.
Only Admins can make changes to billing and member permissions.
***
## Viewing Usage Metrics
All members can view API usage by selecting **Usage Metrics** from the sidebar.
Features include:
* Total API call trends over time
* Breakdown by API model and key
* Optional date range filters
Usage metrics help you monitor API activity and optimize for cost or performance.
### Tracking Spend Per API Key
You can track billing for each of your API keys by following these steps:
Navigate to the [API section](https://www.perplexity.ai/account/api) of your **Settings** and click on **Usage Metrics**
### Roles
* **Admin**: Full access to invite/remove members, manage billing, and view usage data.
* **Member**: Can view usage and account limits but cannot modify settings.
Only Admins can make changes to billing and member permissions.
***
## Viewing Usage Metrics
All members can view API usage by selecting **Usage Metrics** from the sidebar.
Features include:
* Total API call trends over time
* Breakdown by API model and key
* Optional date range filters
Usage metrics help you monitor API activity and optimize for cost or performance.
### Tracking Spend Per API Key
You can track billing for each of your API keys by following these steps:
Navigate to the [API section](https://www.perplexity.ai/account/api) of your **Settings** and click on **Usage Metrics**
 Select **Invoice history** > **Invoices**
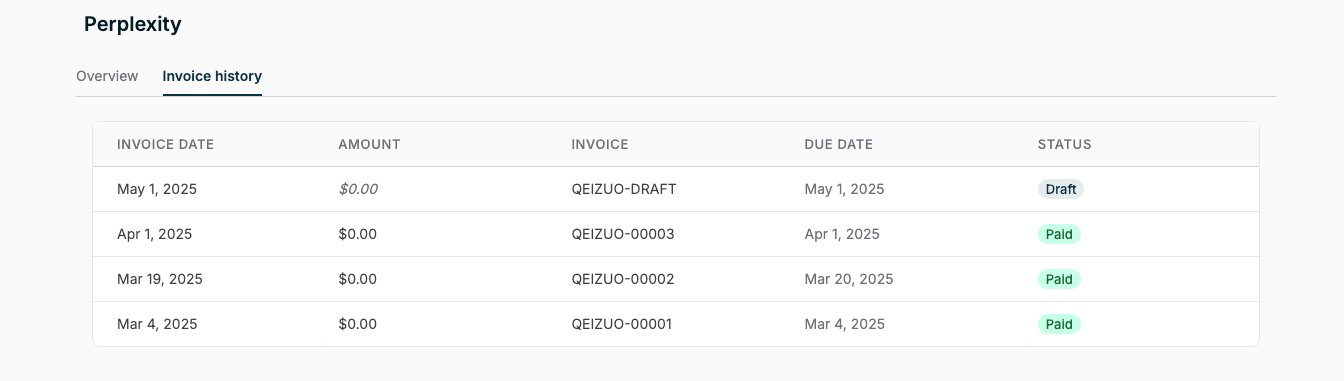 Click on any invoice to view details
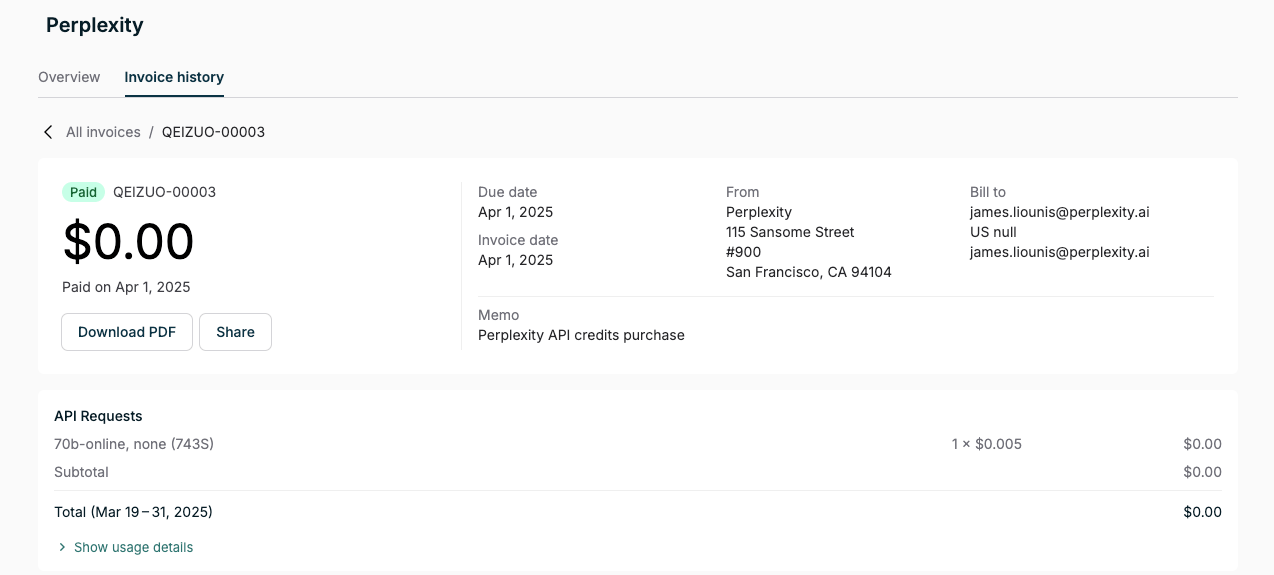 Each item from the total bill will have a code at the end (e.g., pro (743S))
* The 4 characters in parentheses are the last 4 characters of your API key
Each item from the total bill will have a code at the end (e.g., pro (743S))
* The 4 characters in parentheses are the last 4 characters of your API key